Basement Bathroom Layout: Where Fixtures Can Actually Go
A basement bathroom layout is decided by drain height, joist direction and stack distance. Here's how to map those limits before you shop for a single fixture.
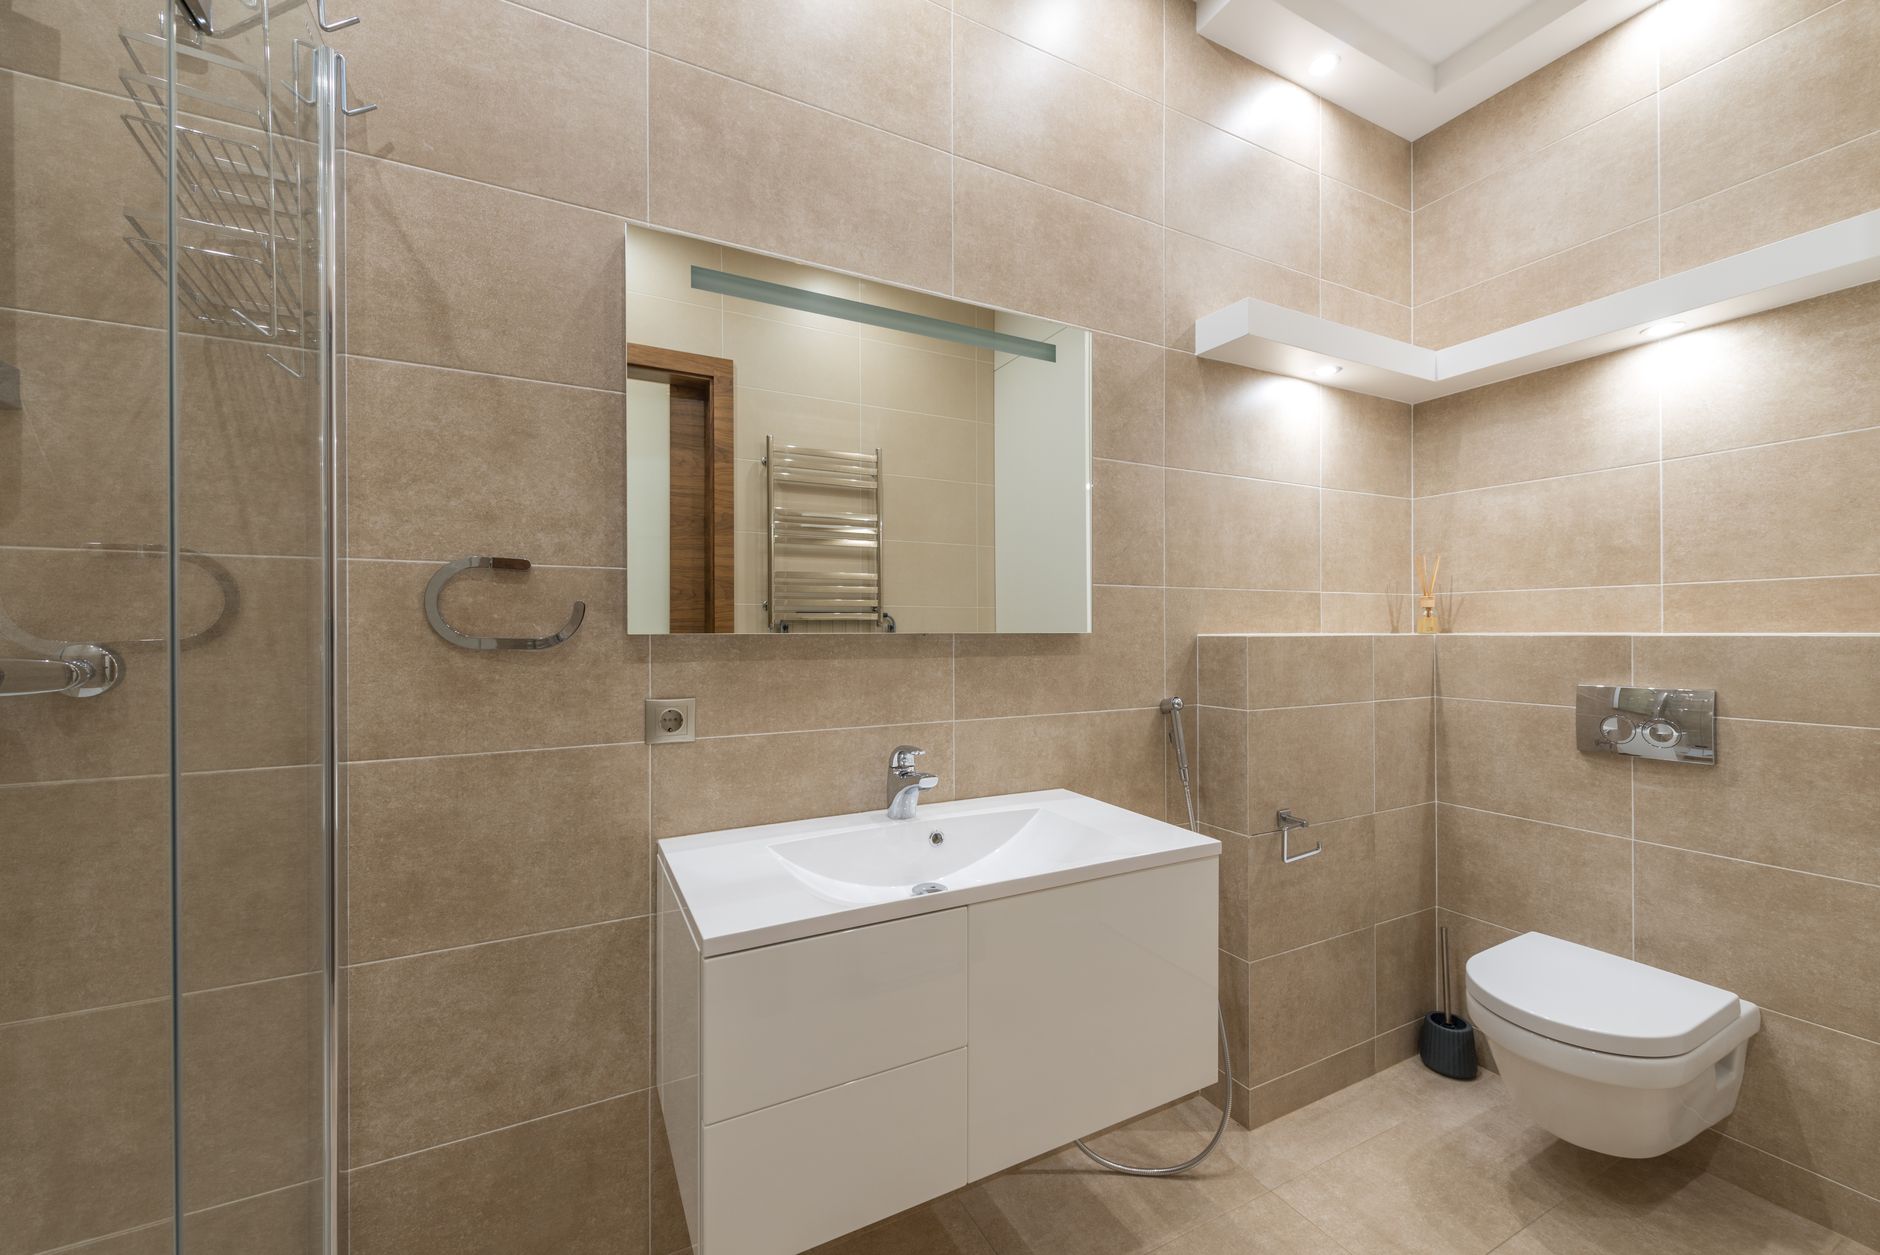
Photo by Max Vakhtbovych on Pexels
Stand in your basement and look at the floor. Somewhere under that slab, or not under it at all, is the answer to what your bathroom can be. A basement bathroom layout is not really chosen from a showroom catalogue — it is dictated by where the drain sits, which way the joists run overhead, and how far you are from the main soil stack. Fixtures are the easy part. Getting waste to flow uphill is the expensive part.
The short version: if your builder left a rough-in — a capped drain and a stubbed vent in the slab — your toilet is essentially fixed within about a foot of that spot, and the sink and shower arrange themselves around it. If there is no rough-in, you have three routes: break the concrete and trench new drain lines, dig a pit for a sewage ejector, or use an above-floor macerating system that pumps waste up and over to the existing stack. Each of those choices sets a different budget and a different set of possible layouts, which is why layout comes first and shopping comes second.
How do you tell if your basement has a rough-in?
Walk the floor and look for circles. A rough-in usually shows up as a 3- or 4-inch capped pipe or a plastic disc set flush in the concrete — that is the toilet flange location. Within a few feet you may find a smaller 2-inch capped stub for a shower drain and a 1.5-inch stub for a lavatory. Sometimes there is a shallow depression or a patch of newer concrete marking the trench.
Look up as well. If a 3-inch pipe drops from the ceiling and disappears into the slab, that is your soil stack, and any drain you add has to reach it — either by gravity below the floor or by pump above it. Also find where the main line exits toward the street or septic. Trenching runs cheaper when it runs short and straight.
Two things worth checking before you plan a single wall:
- Slab thickness and what's under it. Post-tension cable in a slab is a hard stop for DIY cutting; so is a slab poured over rock fill you cannot trench through cheaply.
- The invert elevation of the main sewer. If the municipal line sits above your basement floor, gravity drainage is off the table entirely and you are pumping no matter what.
Field notes on the "phantom rough-in"
Plenty of houses have a floor drain that looks like a rough-in and is not one. A floor drain often ties into a storm or sump line, not the sanitary sewer, and connecting a toilet to it can be both illegal and unpleasant. If you cannot trace where a pipe goes, that is a question for a plumber with a camera, not a guess.
What are the three ways to drain a basement bathroom?
1. Gravity into an existing rough-in
The cheapest and least disruptive path. Waste falls into pipes already buried at the correct pitch — roughly a quarter inch of drop per foot for smaller lines. Your layout freedom is limited: a toilet flange can typically be shifted by relocating the closet bend a modest distance, but move it far and you are back to breaking concrete. Sinks and showers have more give because their lines are smaller and easier to re-route.
2. Trench the slab and add a sewage ejector pit
Here you cut the concrete, run new drain lines to a basin sunk into the floor, and a pump lifts the collected waste up to the main stack. This gives you a conventional bathroom that behaves like any other in the house — standard floor-mounted toilet, standard shower base. It also means jackhammers, dust, spoil removal, a sealed and vented basin, and usually a permit and an inspection. Budget-wise it is the heaviest option, but it is the one that leaves the fewest compromises behind the walls.
3. Above-floor macerating systems
A macerating unit sits behind or beneath the fixture, grinds waste into a slurry, and pumps it through a small-diameter pipe — often around 3/4 to 1 inch — up to the existing drain line. Because that discharge pipe is small and can climb a wall before running horizontally, it opens up parts of a basement that gravity would never reach: under a stair, in a corner far from the stack, in a garage conversion or a room addition where trenching is not realistic.
This is exactly the category macerating toilets built for rooms with no plumbing rough-in is designed for, and it changes the planning conversation completely. Instead of asking "where is the drain?", you ask "where can I run a small pipe, and how far up and over does it need to go?" Manufacturers publish a lift height and a horizontal run — commonly expressed as a maximum vertical rise plus a maximum horizontal distance, with the two trading against each other. Read that spec sheet before you pick a corner.
What to look for on the product page:
- Maximum vertical lift and maximum horizontal run, and how they trade off
- How many fixtures the unit will accept — toilet only, or toilet plus sink, shower and even a washing machine
- Whether the model is a complete toilet-and-pump set or a pump unit that mounts behind a wall to serve fixtures
- Discharge pipe diameter and fitting type, so you can price the run
- Noise rating and access panel requirements — a macerator needs to be reachable for service
Where should the toilet, sink and shower actually go?
Once drainage is settled, layout becomes a puzzle of clearances. These are the numbers most residential codes converge on in the US, though your local authority is the one that counts:
- Toilet: minimum 15 inches from centerline to any side wall or fixture (30 inches of total width), and 21 inches of clear space in front — 24 is more comfortable.
- Lavatory: around 20 inches of front clearance; 4 inches from the edge to a side wall is a common minimum.
- Shower: a 30x30-inch interior is a typical minimum; 32x32 or 36x36 feels dramatically better and still fits most basement corners.
- Door swing: it must not collide with the toilet or the shower door. A pocket door or an outswing door recovers real square footage in a tight room.
Add those up and a workable three-piece basement bathroom starts around 5x8 feet — the classic tub-line layout — while a shower-only room can compress to roughly 5x6 or even 4x7 with a corner shower. Below that you are into a two-piece powder room, which is a perfectly good outcome if the alternative is a cramped three-piece nobody enjoys using.
The layouts that keep working
The single wet wall. Toilet, sink and shower all along one wall or stacked against a single chase. It keeps every supply and drain line in one place, minimizes the run, and is the cheapest to build. If you are working from an existing rough-in, this is usually what the rough-in was designed for.
The L. Shower in a corner, toilet and sink on the adjacent wall. Slightly more piping, noticeably better circulation, and it lets the door swing into the sink corner instead of the shower.
The tucked-under-stair powder room. Toilet and a compact wall-hung or corner sink under the stringer. Watch headroom above the toilet — you want roughly 6 feet of standing height in front of it, even if the ceiling slopes to nothing behind.
Ceiling height and joists
Basements lose height fast to ducts and beams. A shower needs clearance for the head — plan around 80 inches minimum from the shower floor, more if anyone tall lives there. If you are boxing a soffit for a vent or a discharge line, sketch its route before you frame, because a soffit crossing the middle of the room at 6-foot-4 turns a nice bathroom into a duck-and-cover exercise. Joist direction also matters: running a pipe parallel between joists is straightforward; crossing them means drilling within the allowable zone, which limits diameter and position.
What about ventilation and the damp basement problem?
A basement bathroom generates humid air in a space that is already the coolest, dampest part of the house. Cold surfaces plus steam is how you get condensation on ductwork and musty framing. Two systems handle this and they are not interchangeable.
An exhaust fan removes moist air at the source. Size it to the room and vent it fully outside — not into the joist bay, not into the rim, outside. A timer or humidity-sensing switch keeps it running past the end of the shower, which is when most of the moisture is still hanging around.
Whole-basement humidity is a separate job. If the rest of the space runs damp year-round, a bathroom fan will not fix it, and a continuously running unit sized for cool, unheated spaces will do more than any fixture choice. Argendon's commercial-grade dehumidifiers built for basements and crawl spaces are aimed at that scenario — units designed to run at low temperatures with a drain hose rather than a bucket you forget to empty. If you already have a sump or a floor drain nearby, plan the hose route while the walls are still open.
What to settle before you buy anything
Write these down before you open a single product page. The flock's collective experience says most basement bathroom regrets trace back to a step skipped here:
- Confirm whether a sanitary rough-in exists and where it connects.
- Measure from the proposed fixture locations to the soil stack — vertical rise and horizontal run, separately.
- Check your local permit requirements. Adding a bathroom almost always requires one, and inspections happen while the walls are open.
- Sketch the room at 1/4-inch scale with real clearances, including door swing, and stand in the taped-out footprint before you frame.
- Decide the drainage method. Only then choose fixtures, because the method rules out entire categories.
- Plan the vent route, the exhaust route and any electrical for a fan or pump in the same sketch.
Do that and shopping gets easy, because you will arrive with dimensions and a lift-height requirement instead of a vague wish. If your basement has no rough-in, it is worth reading through what above-floor systems for basements, garages and additions can handle before you price out a concrete crew — the two paths lead to very different projects.
Common questions
Can you add a bathroom to a basement without breaking concrete?
Often yes, using an above-floor macerating toilet system. The unit grinds waste and pumps it through a small-diameter pipe up to the existing drain line, so no trenching is needed. Check the manufacturer's maximum vertical lift and horizontal run against your actual distances, confirm how many fixtures the unit accepts, and check local permit rules before buying.
How much space do you need for a basement bathroom?
A three-piece bathroom with a shower generally needs about 35 to 40 square feet — roughly 5x8 feet — to meet common clearances: 30 inches of width for the toilet, 21 inches in front of it, and a 30x30-inch shower minimum. A two-piece powder room with just a toilet and compact sink can work in around 18 to 20 square feet.
Does a basement bathroom need its own vent?
Yes on both counts. Drain lines need a plumbing vent connected to the existing vent system or an approved alternative, and the room needs an exhaust fan ducted fully to the outside to remove humid air. Venting a fan into a joist bay or the rim area traps moisture in framing. A humidity-sensing or timed switch helps clear steam after showers.